
DIY Treadmill Rock Tumbler
Repurposing a discarded treadmill into a dedicated rock tumbler that keeps production moving.
Background:
When I first started making knives in 2022, I used my belt grinder to tumble blades for a stonewashed finish. It worked, but it also meant my grinder was tied up for hours at a time whenever a batch was running.
That quickly became a bottleneck.
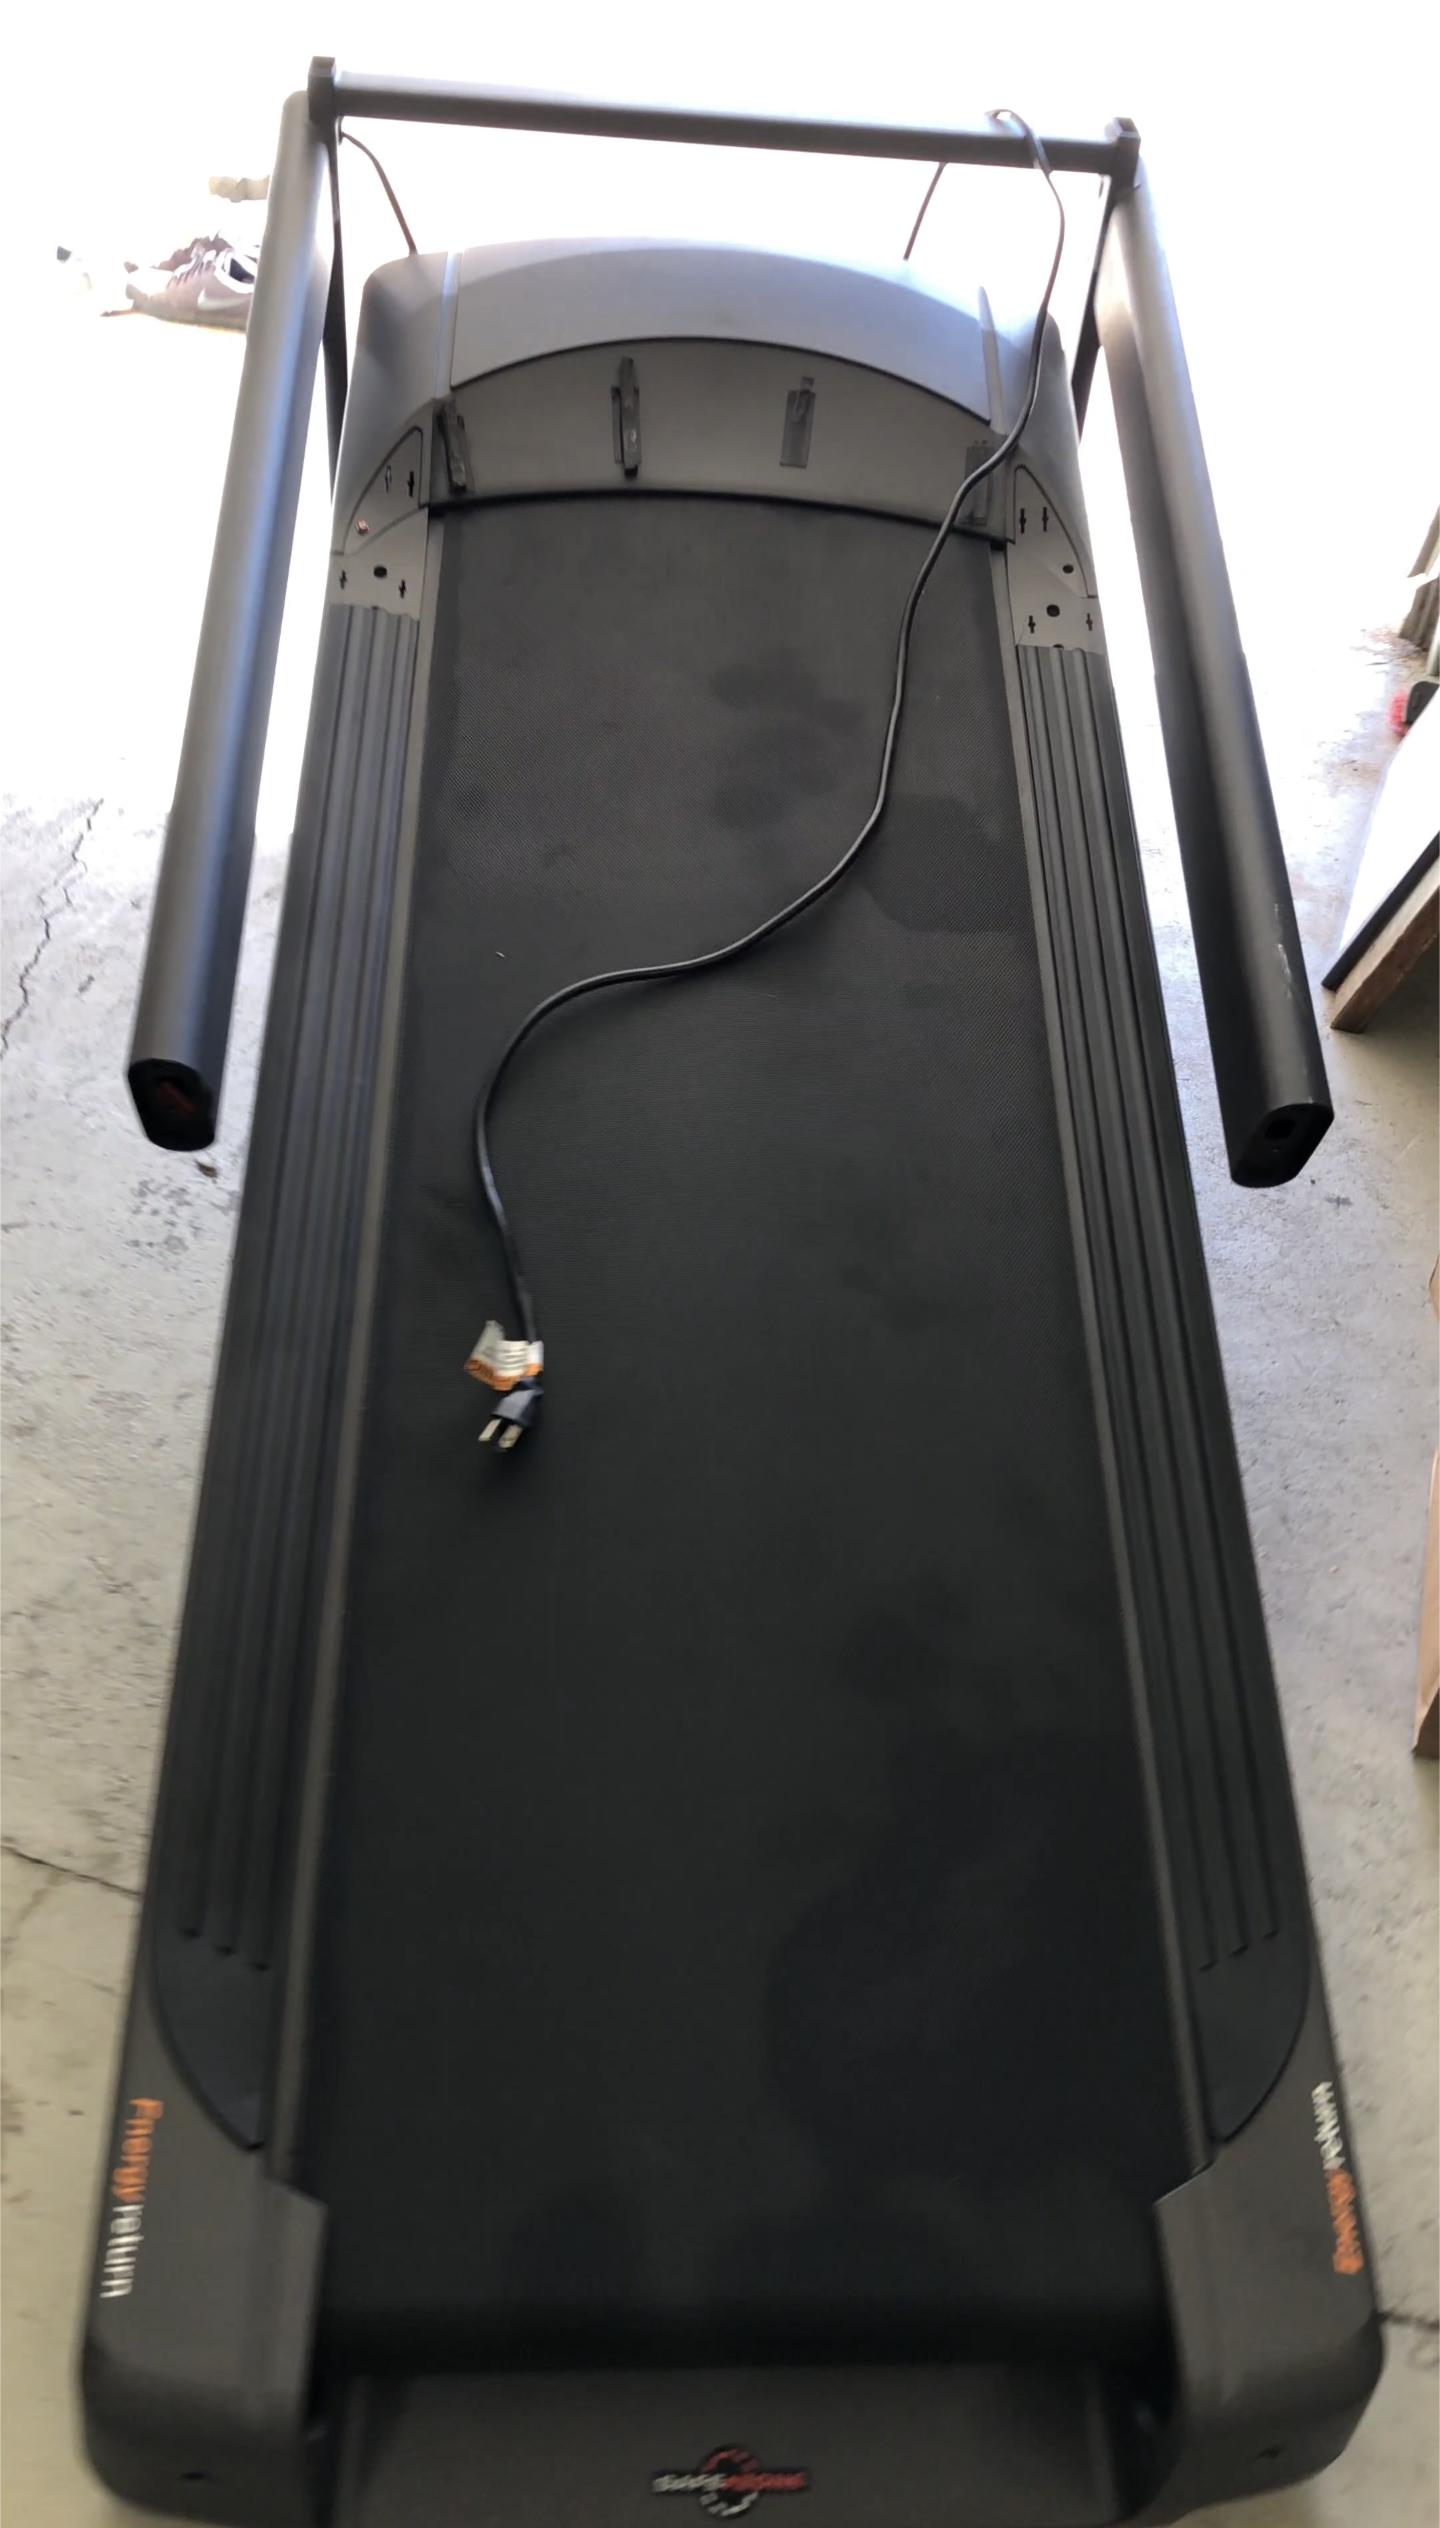
Instead of buying another expensive machine, I started looking at what I already had. A free treadmill from Facebook Marketplace turned out to be the perfect foundation for a dedicated tumbler.
With a little modification, I was able to free up my grinder, keep production moving, and give an old treadmill a second life.
On the Bench:
This project uses a handful of readily available components alongside a discarded treadmill frame and motor. If you already have an old computer power supply or similar parts on hand, you may be able to reduce the cost even further.
The links shown are the products I used for this build. Some may be affiliate links, which help support future projects here at Reaper Mfg.
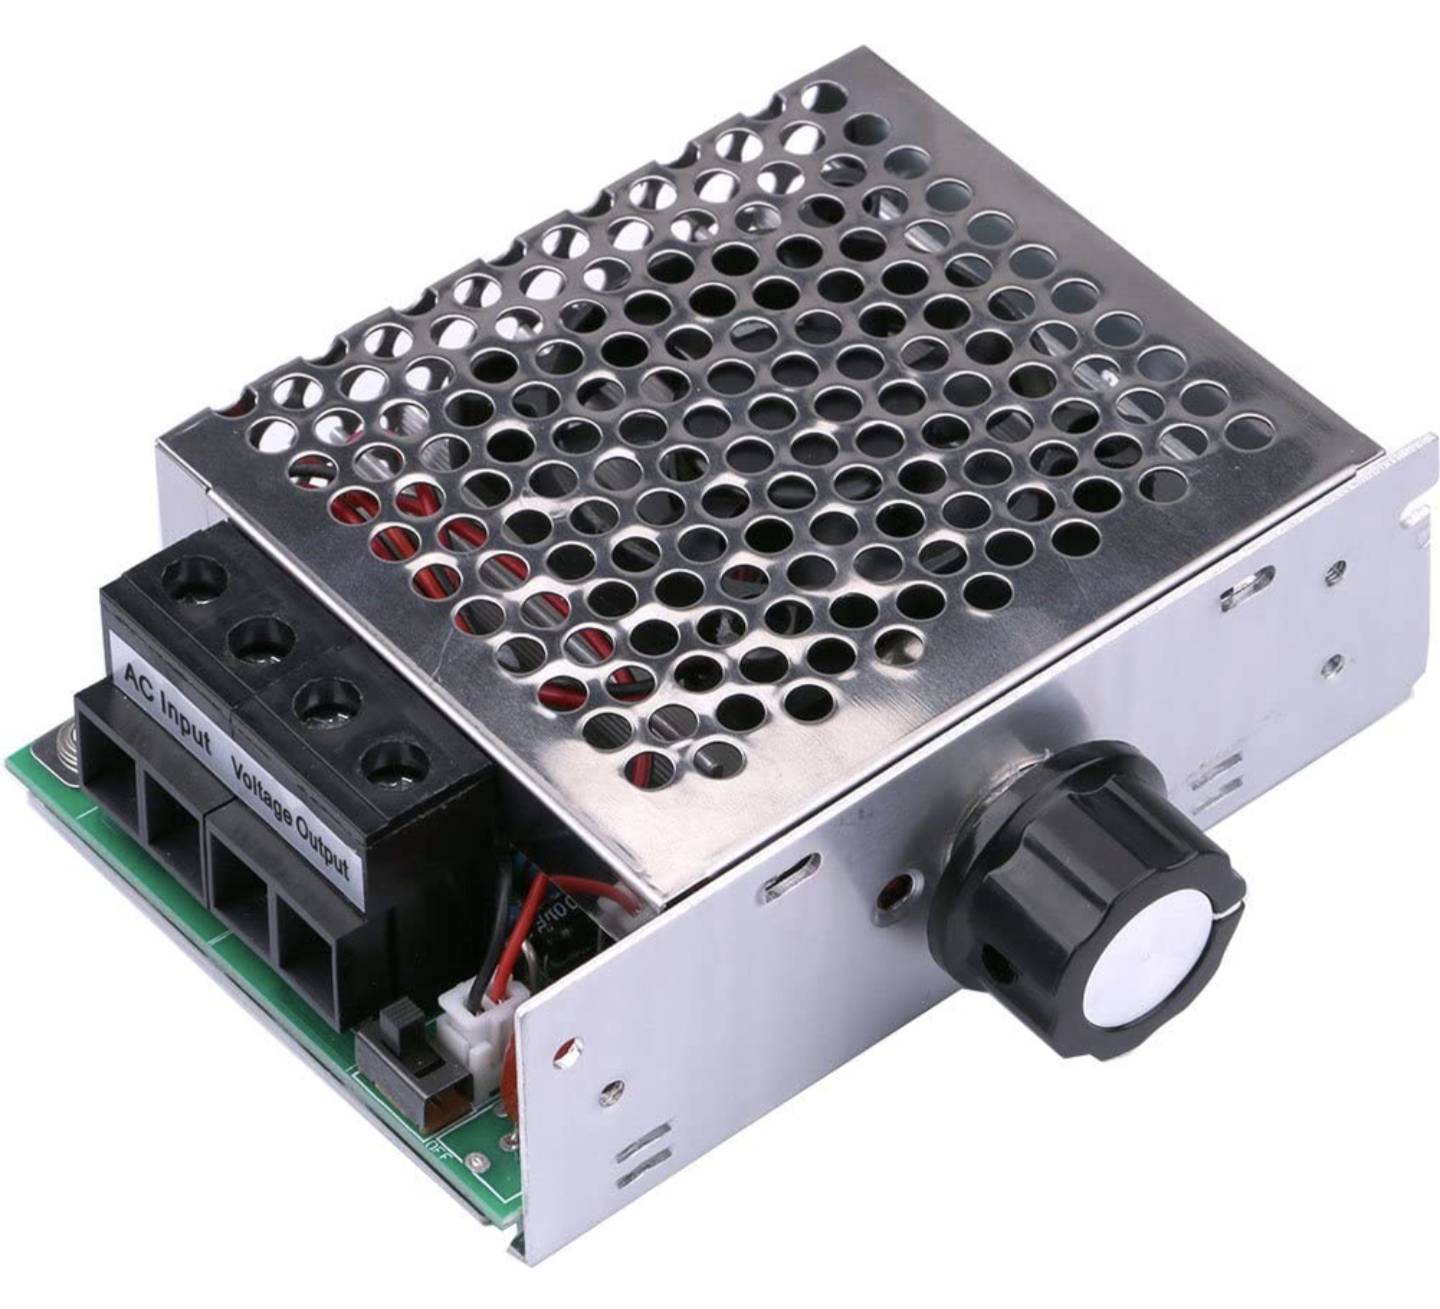
Electronic Voltage Regulator:
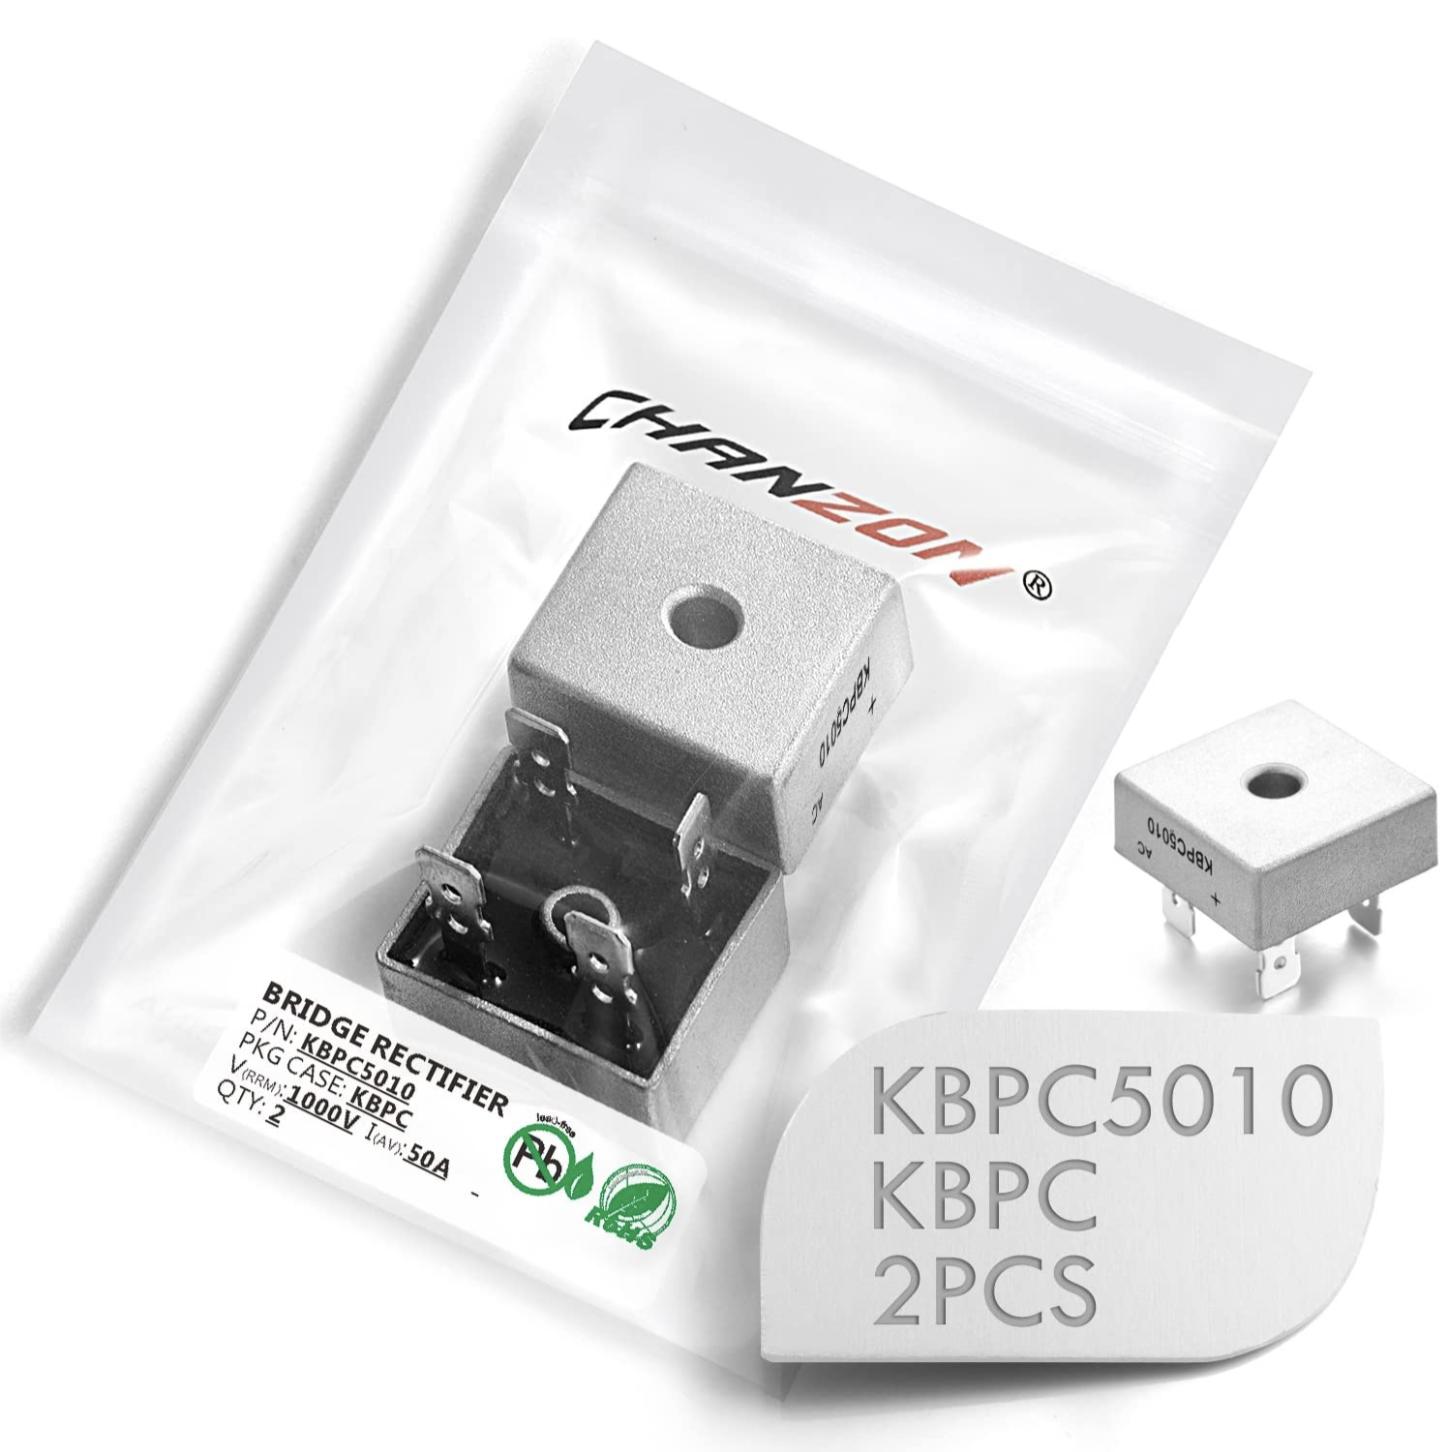
Bridge Rectifiers:
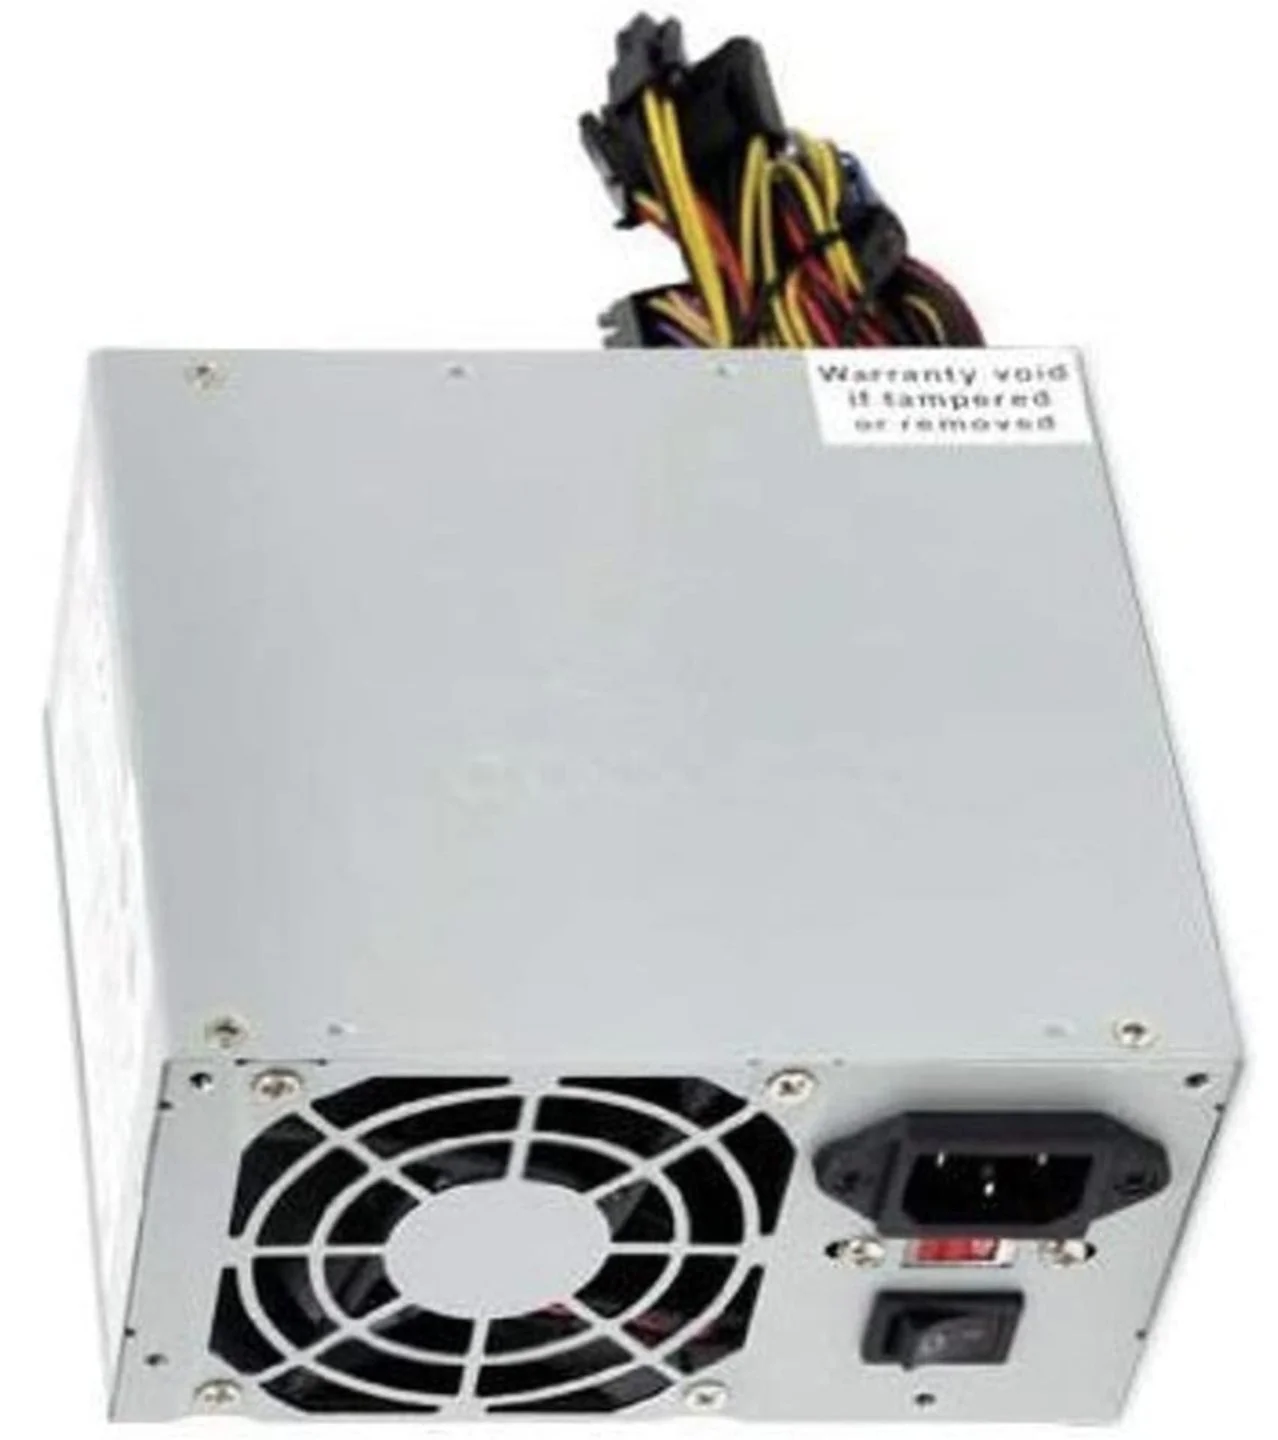
Low Cost Power Supply:
Building the Control Box & Wiring the System:
Safety Note: I am not a licensed electrician. This project involves household voltage, which can cause serious injury or death if handled improperly.
This write-up documents how I built my tumbler and is provided for informational purposes only. If you're not comfortable working with electrical systems, consult someone who is.
This project was already complete by the time I was asked to document it, so some of the build photos are missing. I've included as much detail as possible to make the process easy to follow.
Prepare the Power Supply:
Start by opening the computer power supply. Unplug the fan from the control board. Then, remove the original control board and wiring harness. These parts are no longer needed because the SRC controller will replace them. You can discard the original board and wiring harness or save them for another project.
Next, remove the cover from the SRC controller by taking out the two screws. Unplug the small fan and remove the control knob. The fan is no longer needed, although you can save it for another project.
Reinstall one of the small screws in the back-left corner of the SRC controller board next to the power input terminals.
Drill an opening in the power supply where the control knob will pass through, then file the edges smooth.
Mount the power supply to the treadmill frame using two self-tapping screws.
Workshop Tip: Before final assembly, clean out any metal shavings created while drilling. Even a small piece left inside the power supply can cause problems later.
Install the New Components:
With everything cleaned up, mount the SRC controller and bridge rectifier inside the power supply using 3M double-sided tape.
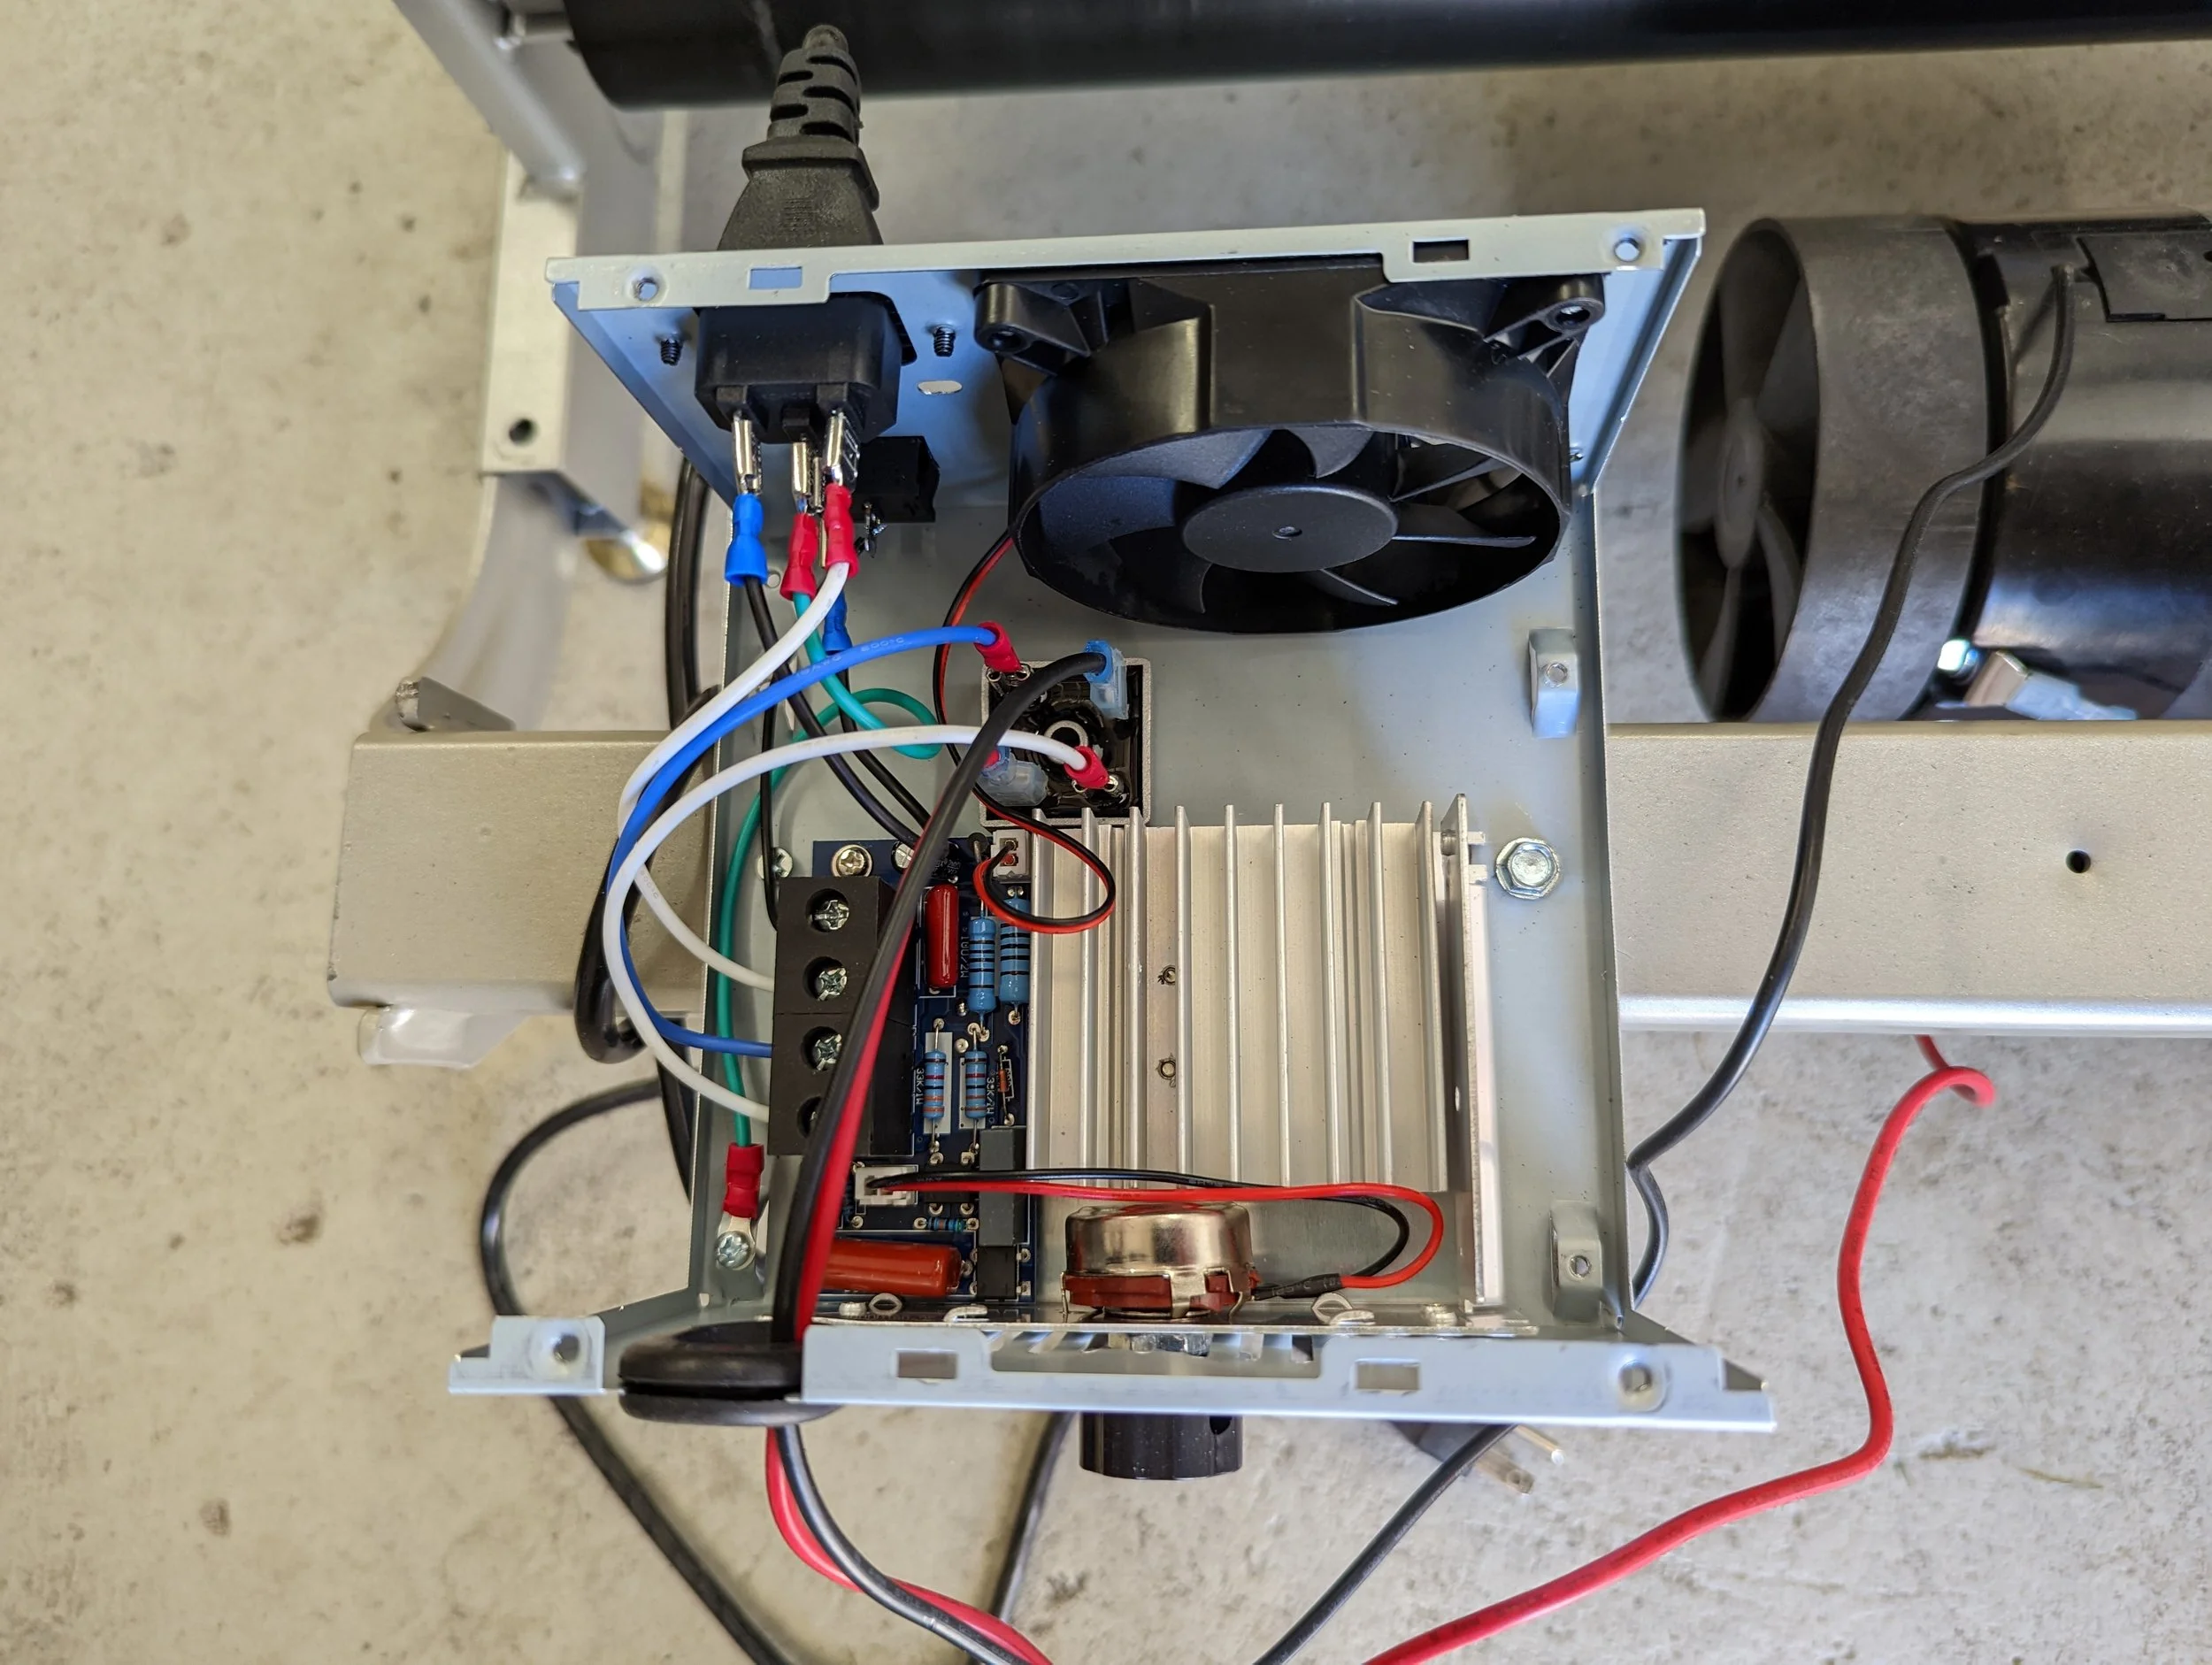
When positioning the bridge rectifier, locate the corner marked "AC." In my build, the blue wire connects to this corner. The white wire connects to the diagonally opposite AC terminal.
The remaining two terminals on the bridge rectifier are the DC outputs that will connect to the treadmill motor.
Incoming AC Power:
Connect the incoming AC power first.
Green wire → Ground on the power supply
Black wire → One terminal of the On/Off switch
Other On/Off switch terminal → First AC input on the SRC controller
White wire → Second AC input on the SRC controller
Workshop Tip: The black and white wires are interchangeable on the AC input terminals.
SRC Controller to Bridge Rectifier:
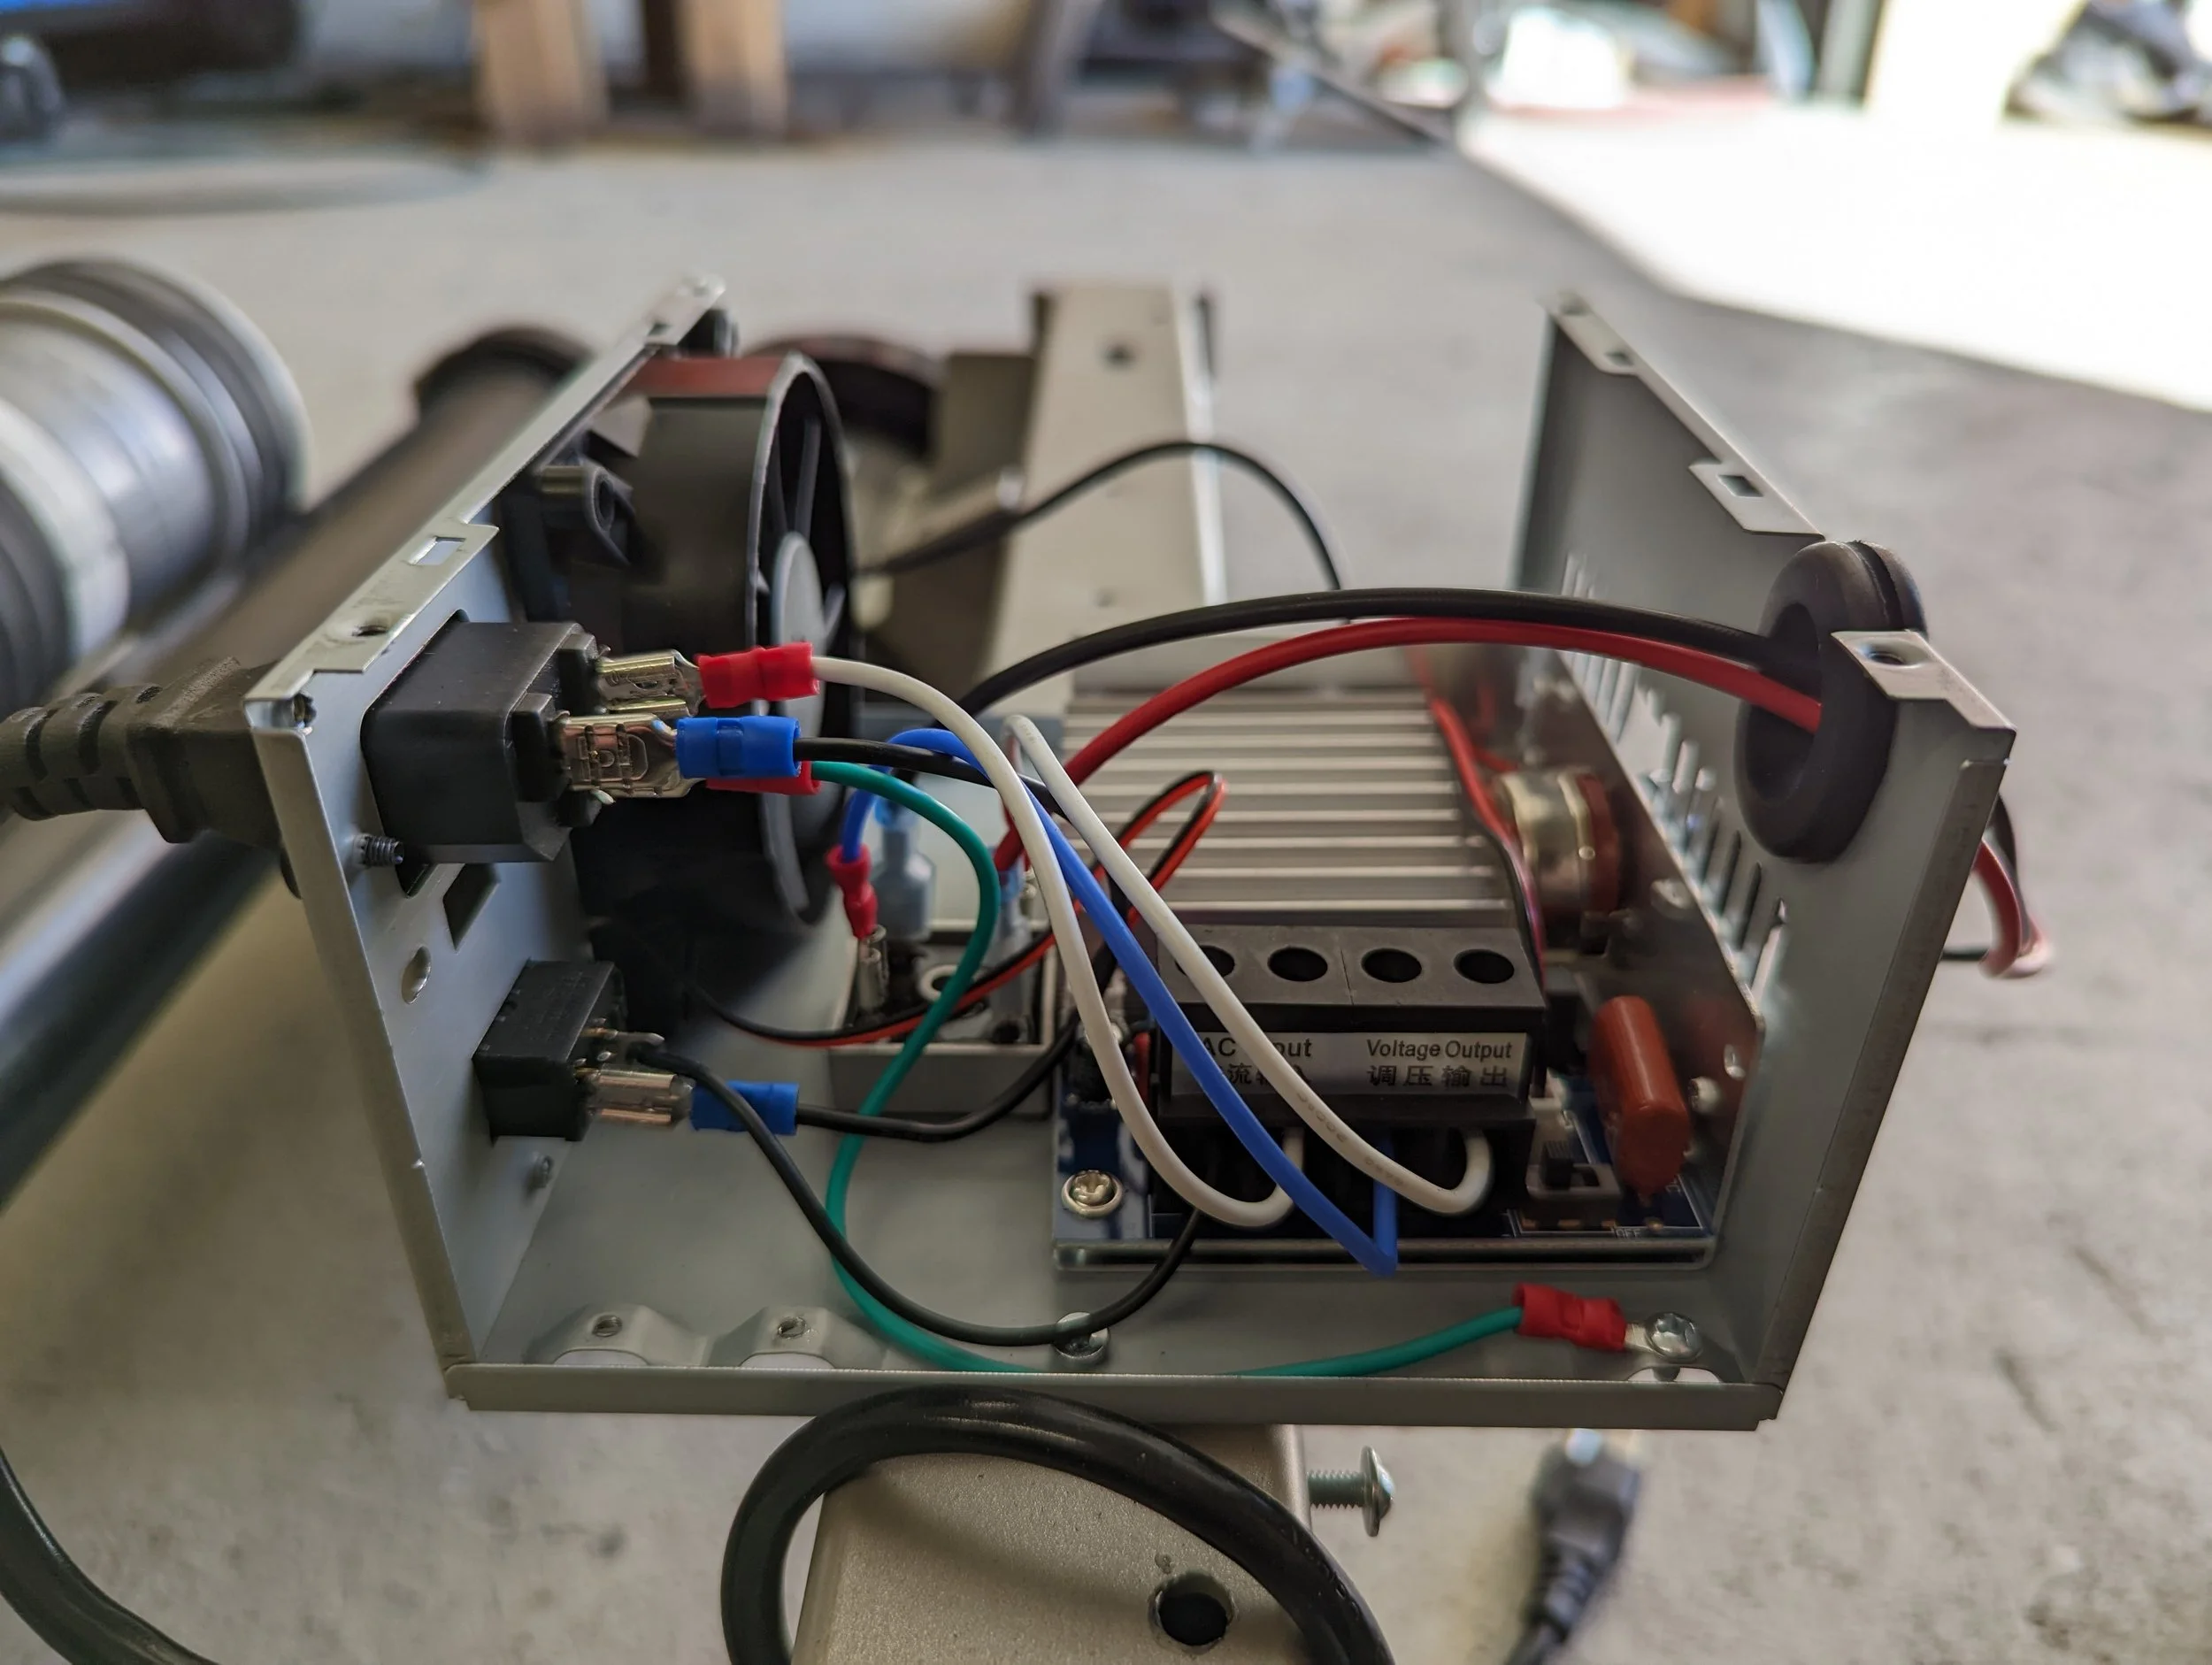
Next, connect the voltage output from the SRC controller.
Blue wire → Corner marked "AC"
White wire → Diagonally opposite AC terminal
Workshop Tip: The two AC terminals on the bridge rectifier are interchangeable, so the blue and white wires may be swapped without affecting operation.
Bridge Rectifier to Motor:
Connect the treadmill motor to the remaining two DC terminals on the bridge rectifier.
In my build:
Black motor wire → Upper-right DC terminal
Red motor wire → Diagonally opposite DC terminal
Workshop Tip: The two DC output terminals are interchangeable, so the red and black motor wires may be swapped without affecting operation.
Final Assembly:
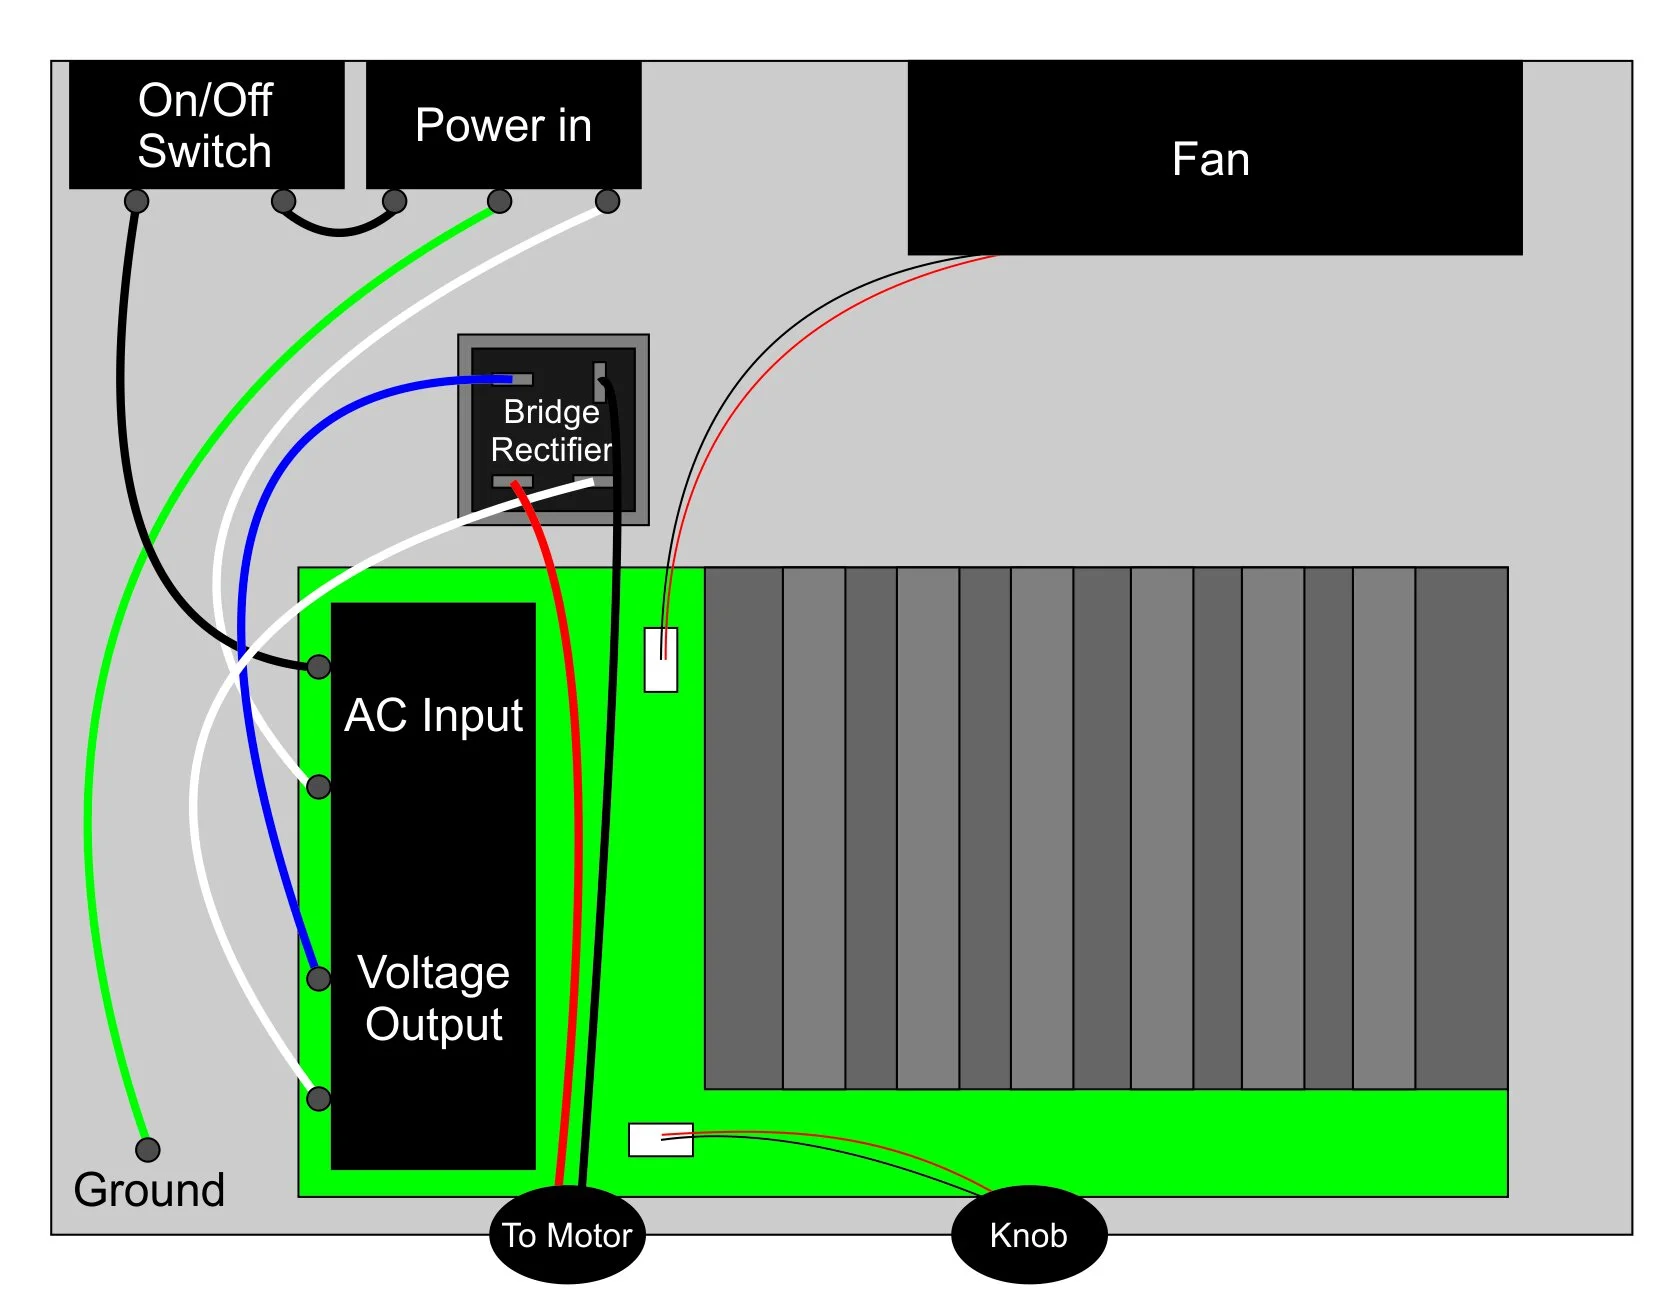
Reconnect the fan to the uppermost white connector on the SRC controller.
Reinstall the power supply cover using the two self-tapping screws.
Before applying power, compare every connection to the wiring diagram one final time. Verify that every wire is connected to the correct terminal, all screw terminals are tight, and no loose wire strands can contact neighboring terminals.
At this point, the control box is complete and ready to be installed on the tumbler.
Frame construction and mounting the rollers:
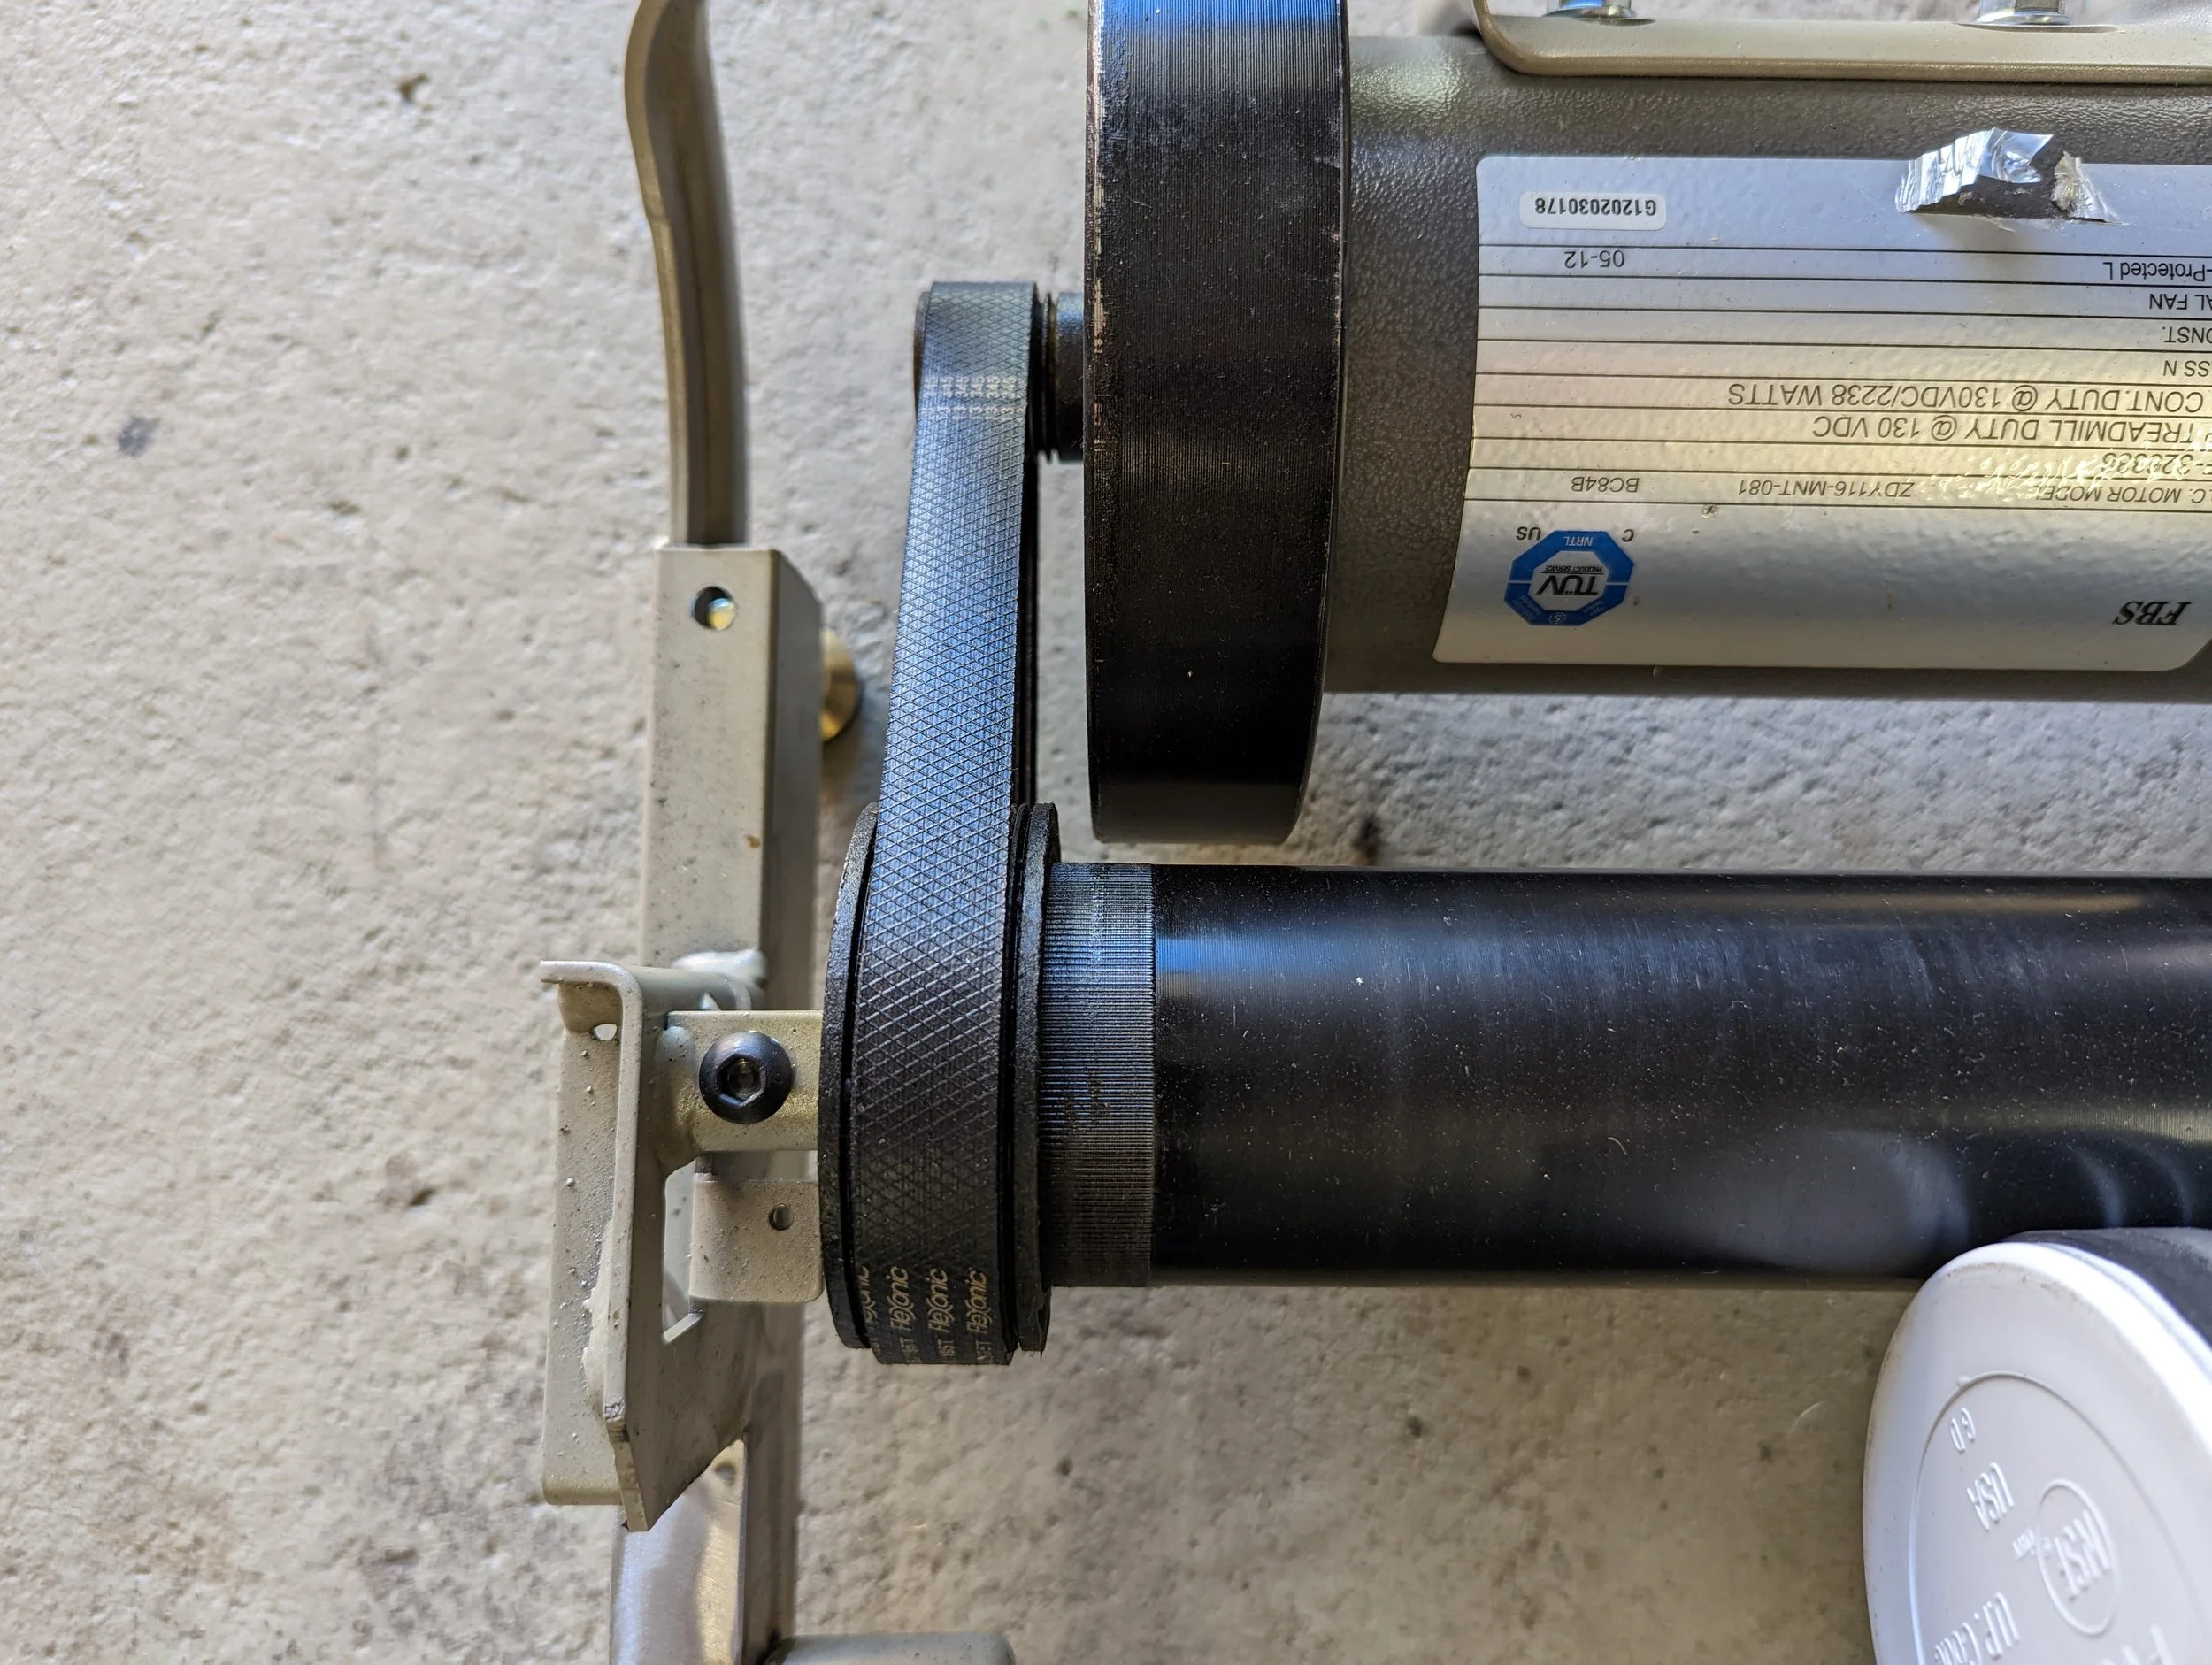
I reused the treadmill frame since it already had mounting locations for the motor and the rollers. The only modification I made to the rollers was drilling and tapping the roller that had the belt pulley. Only one side had a hole drill and tapped. Since there was not treadmill belt to keep tension on it, I had to drill and tap the other side in order to hold it in place, and keep tension on the belt coming off the motor.
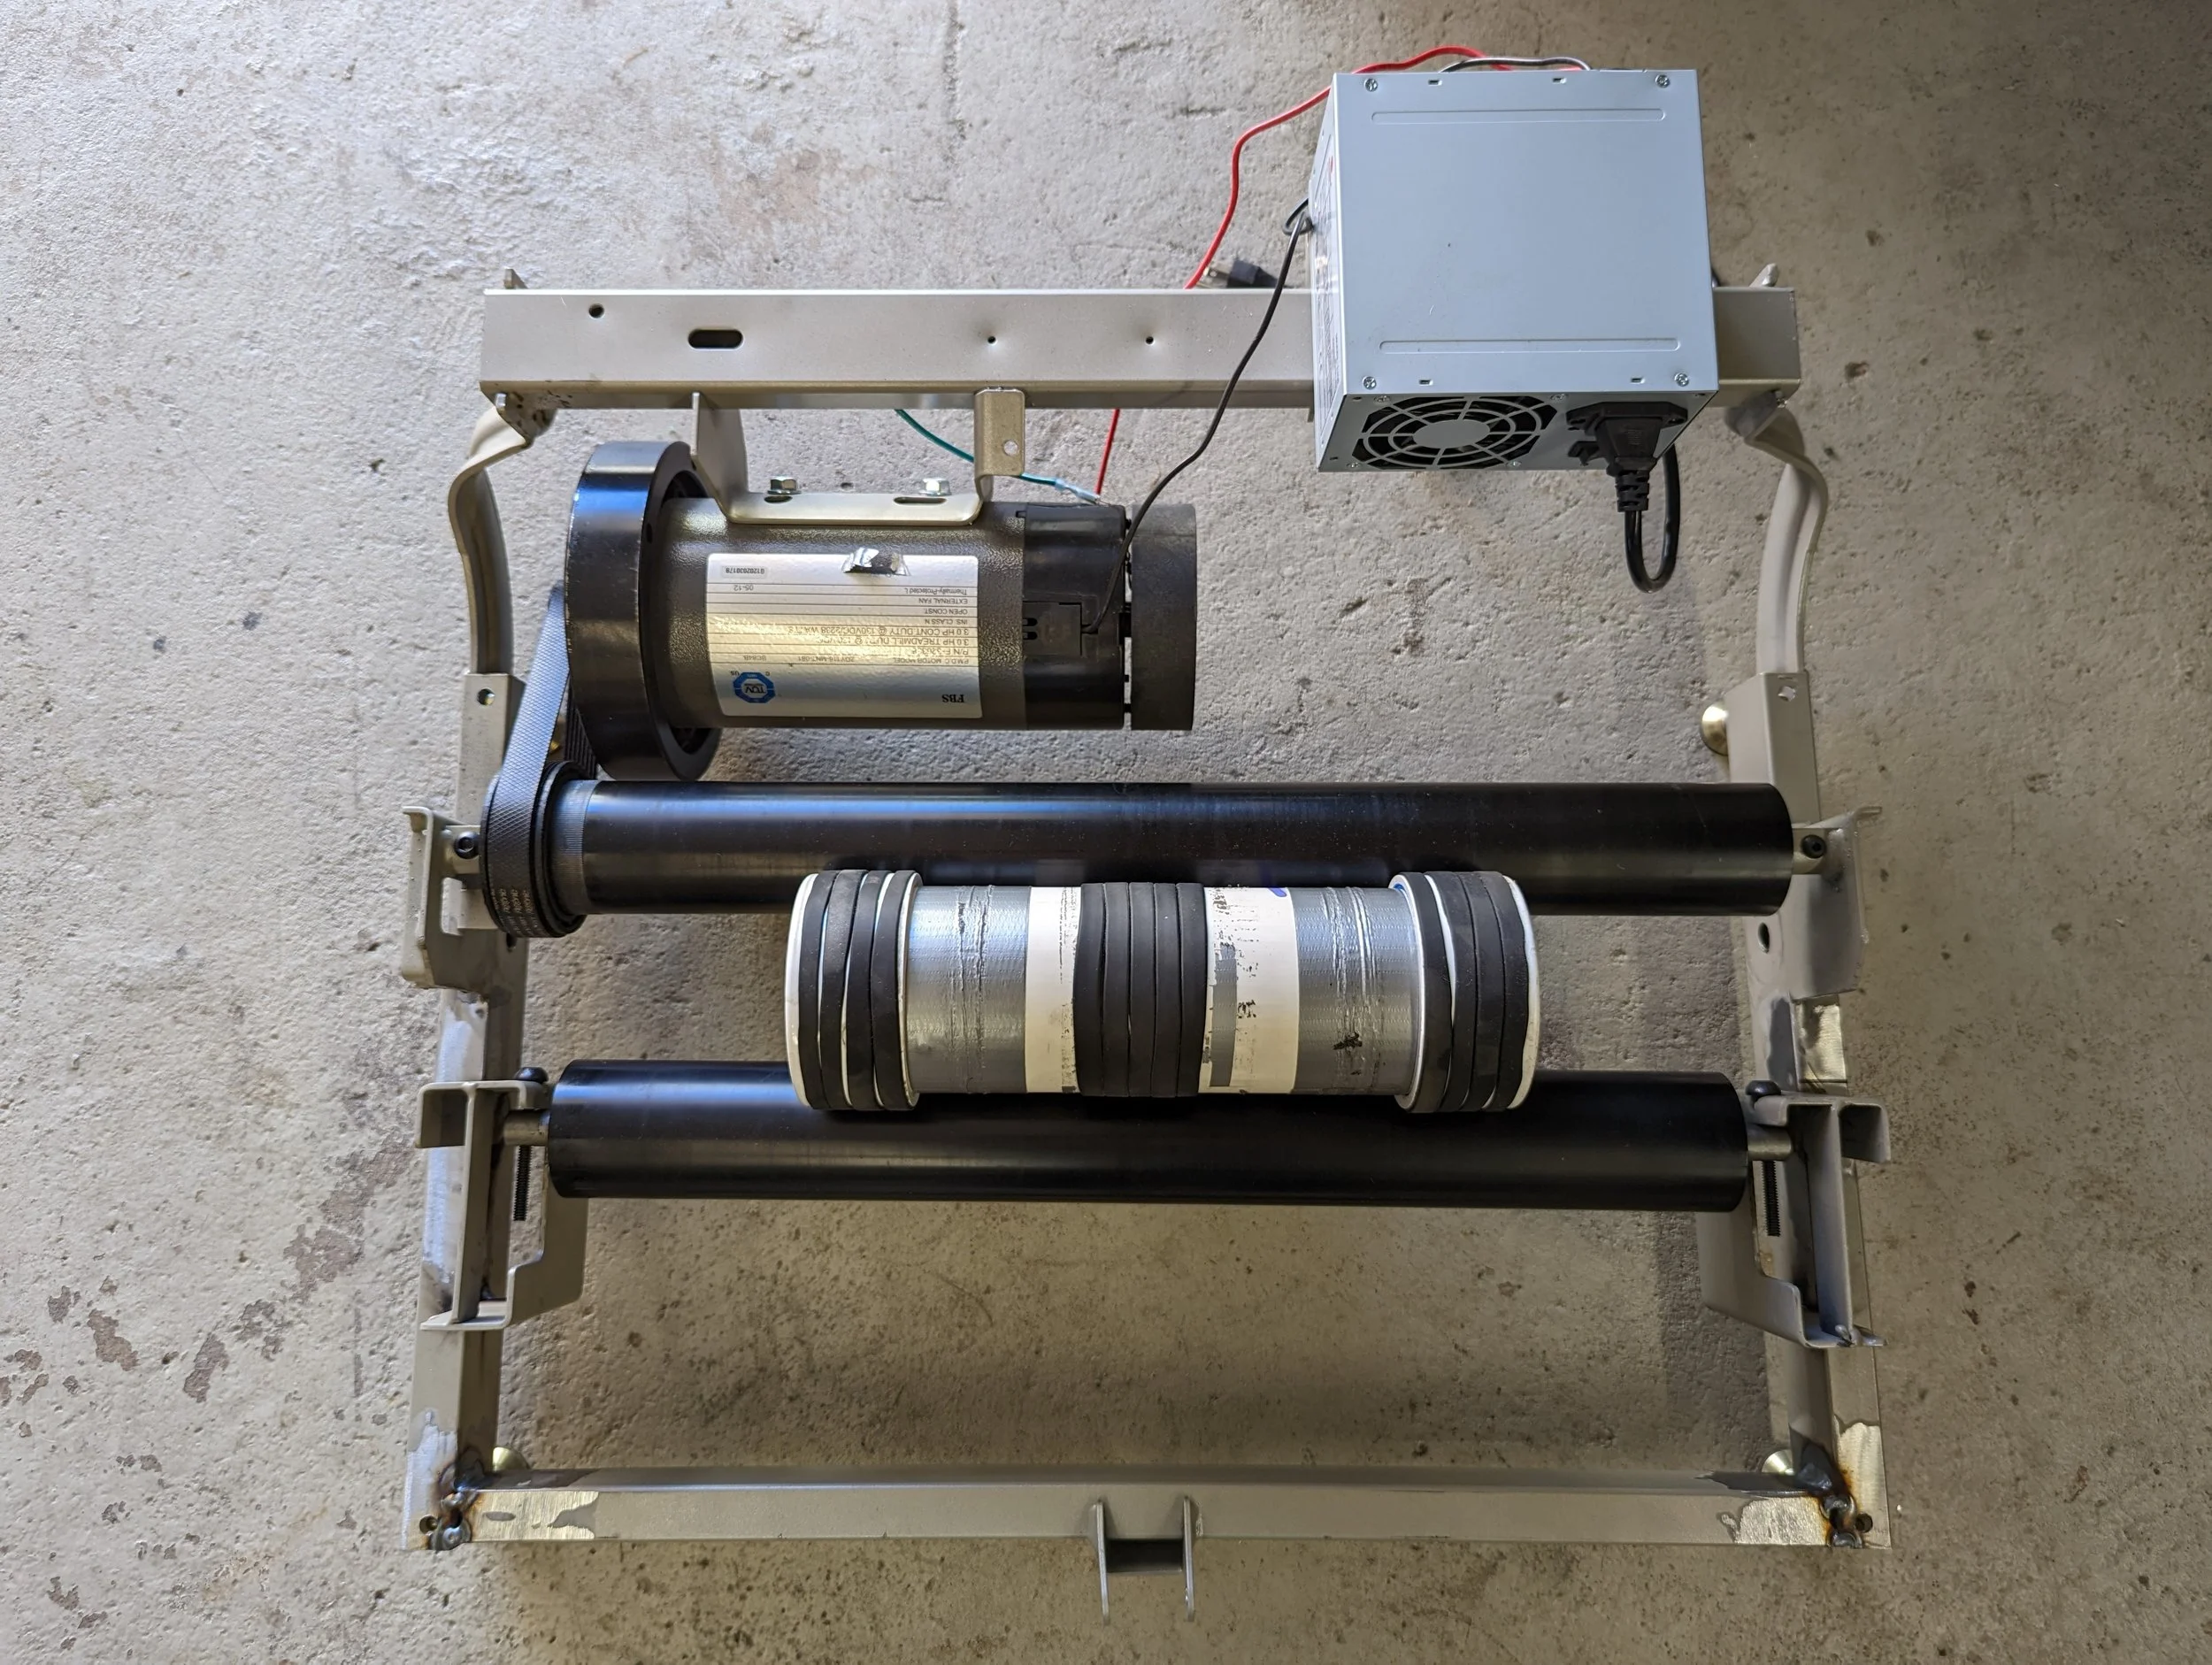
I sectioned the rest of the frame, removing about four feet of tubing to shorten it. I relocated the mounting brackets for the second roller. Since the second roller has fine adjustment screws, the alignment of the rollers does not have to be 100% exact.
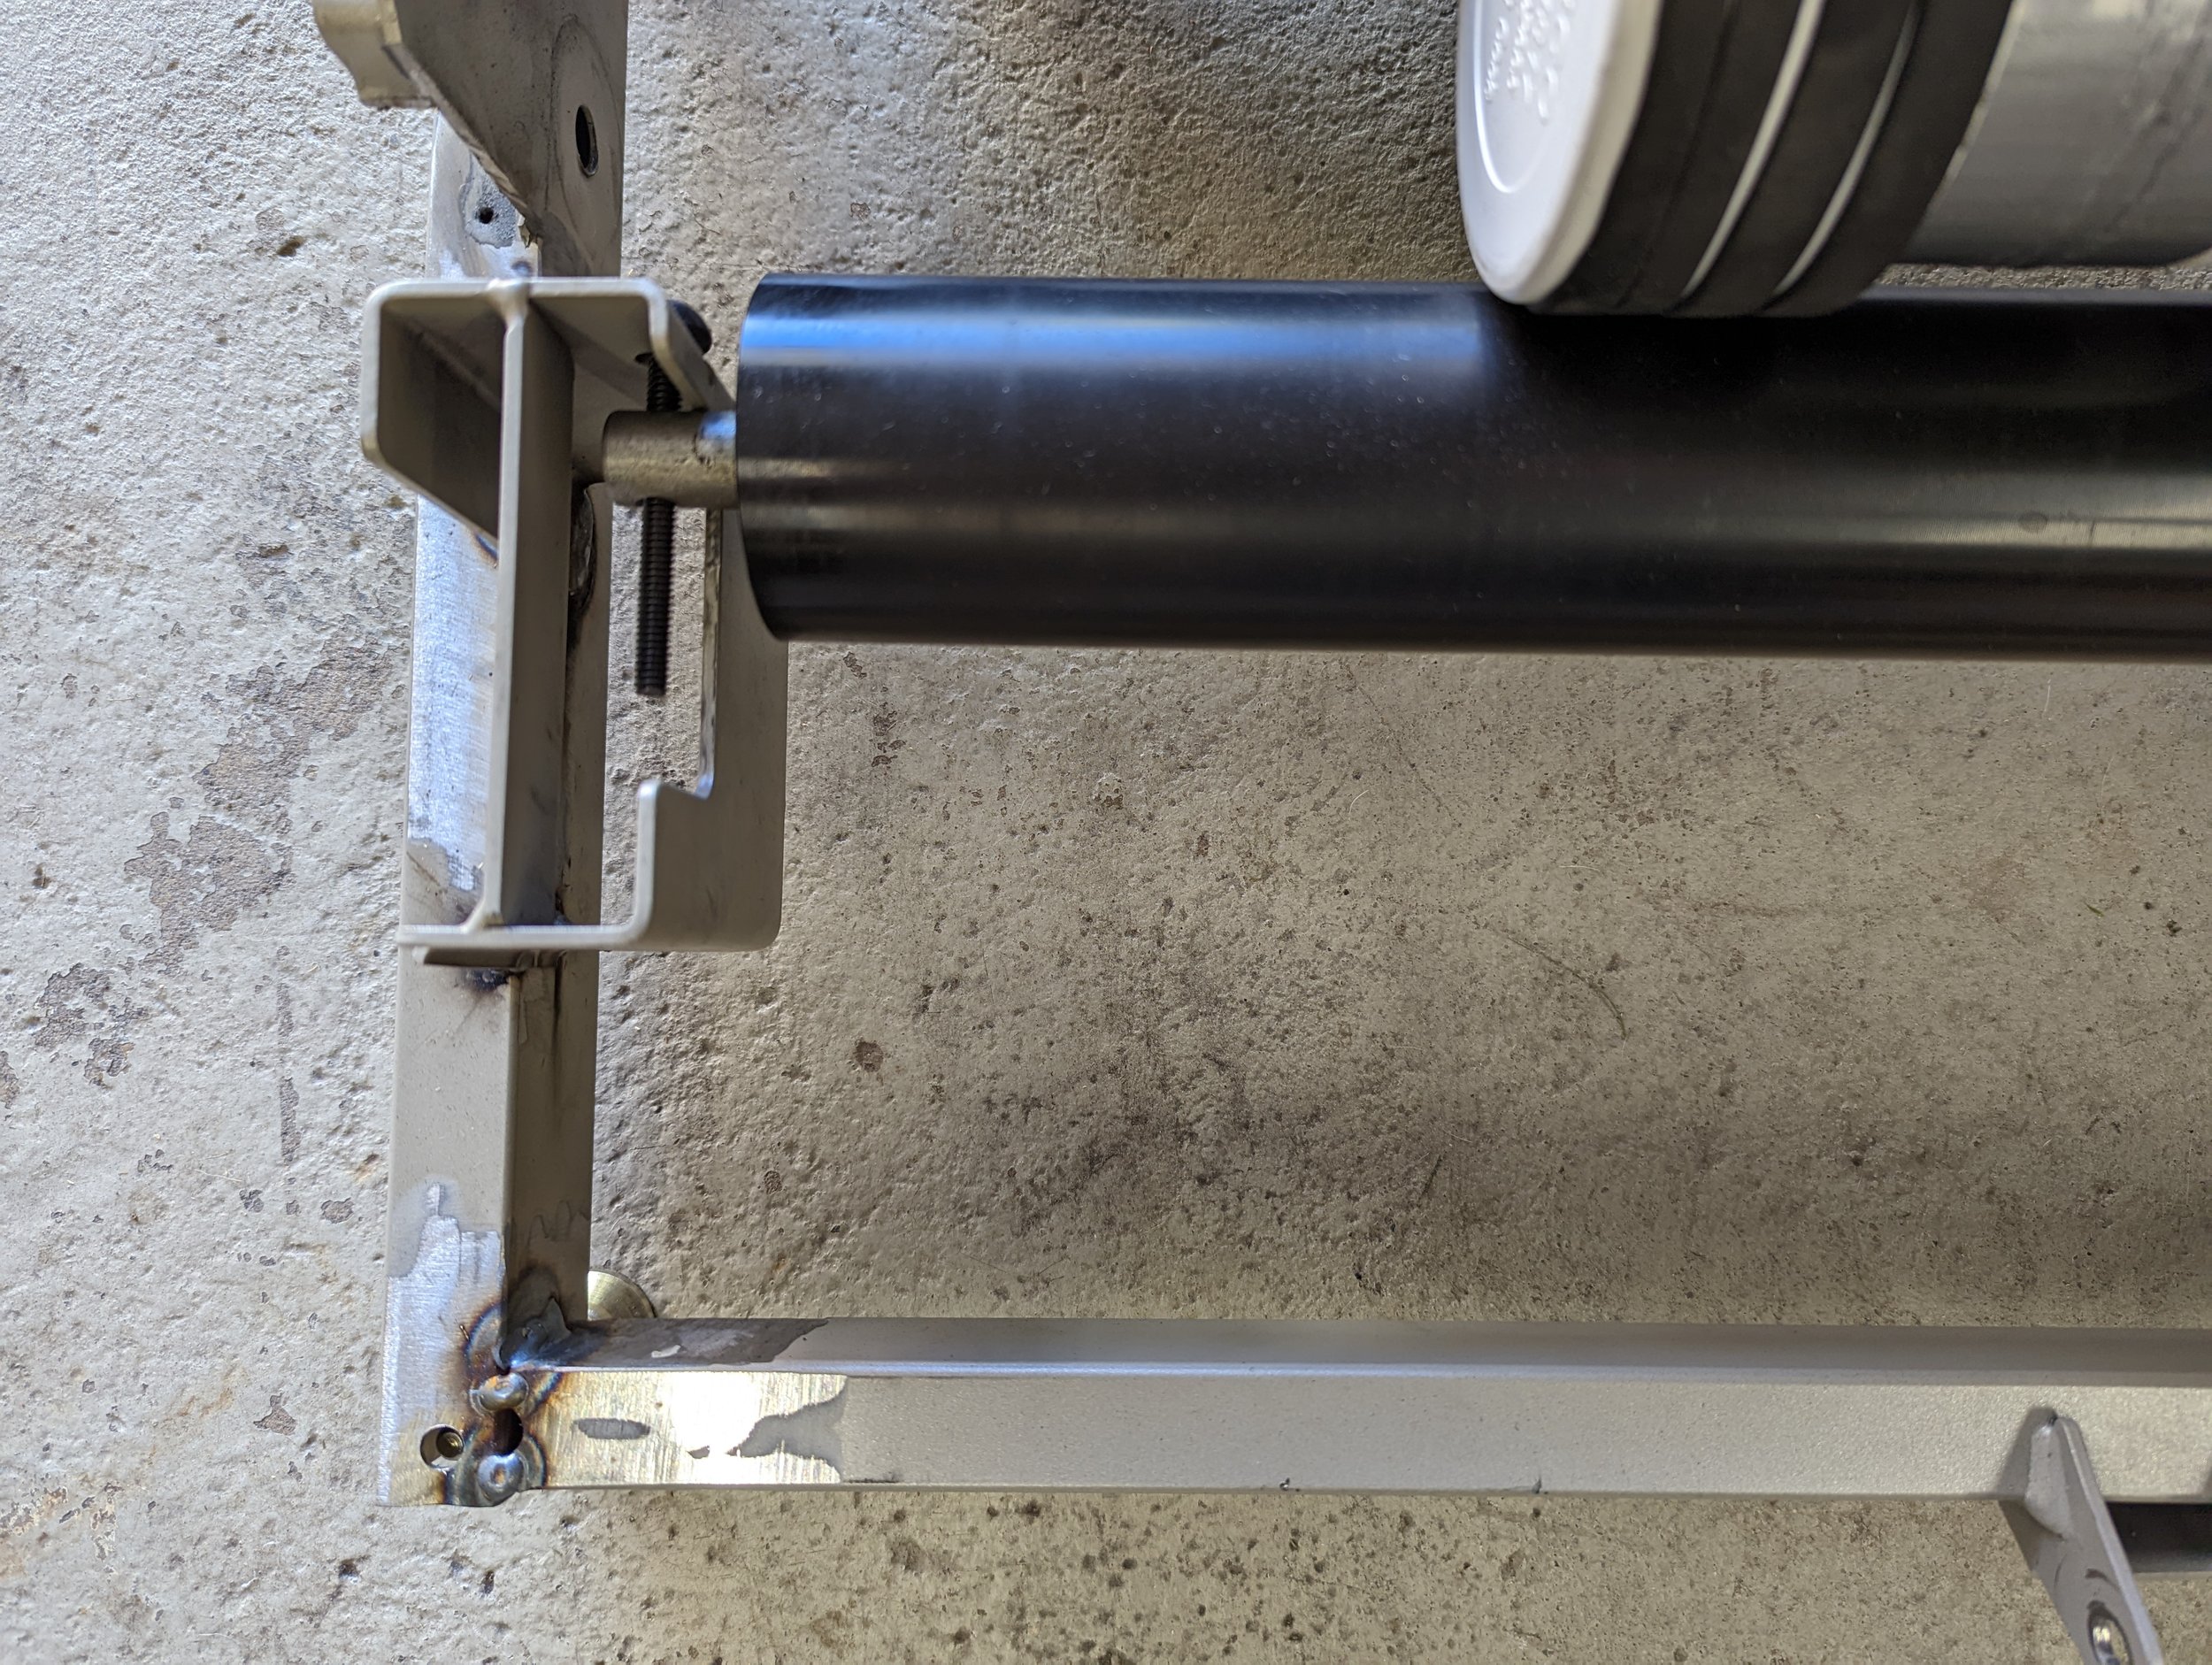
The only issue I have right now is that the container travels on the rollers while spinning. That can easily be fixed by attaching a stop that goes from the side of the frame and runs to the container.
Bench Notes
A few thoughts after living with this build.
Purpose
Repurpose a discarded treadmill into a dedicated rock tumbler, freeing up my belt grinder for knife making while giving useful equipment a second life.
Build Highlights
Reused the treadmill frame and motor
Built a variable-speed control box
Modified the frame to support custom rollers
Created a dedicated tumbling station
The Result
What started as a free treadmill became a reliable shop tool that has saved countless hours by allowing my tumbler and grinder to work independently. It solved a production bottleneck while keeping perfectly usable equipment out of the scrap pile.
Would I Build It Again?
Absolutely.
If I ever needed another tumbler, I'd start with another used treadmill without hesitation. They're inexpensive, readily available, and provide an excellent foundation for this type of project.
Biggest Lesson
Sometimes the best solution isn't buying another machine—it's looking at an old one in a different way.
Continue Exploring
There are always more projects underway. Here are a few more from the workshop.